Homemade Quick Dinner Rolls: Fluffy & Tender in Under 60 Minutes
Imagine warm, fluffy, melt-in-your-mouth dinner rolls gracing your table – not after hours of waiting, but in less than an hour from start to finish. Sound too good to be true? Not with our ultimate quick dinner rolls recipe! Whether you're a seasoned baker short on time or a complete novice looking to impress, this guide will unlock the secrets to homemade quick dinner rolls that are every bit as tender and delicious as their slow-rise counterparts. Forget store-bought; your kitchen is about to become a bakery in record time.The Secret to Speedy, Yet Superb, Dinner Rolls
The traditional method for yeasted breads often involves multiple long rises, allowing flavor to develop and gluten to relax. While undeniably delicious, this process can deter many home bakers, especially on busy weeknights. Our quick dinner rolls recipe sidesteps the time commitment without sacrificing quality, thanks to a few clever adjustments. The primary trick lies in a slightly increased amount of yeast. This turbo-charges the fermentation process, allowing the dough to rise much faster. While some quick-rise breads can suffer from a bland flavor and a less-than-ideal texture – sometimes described as "styrofoam-like" – this recipe employs a crucial counter-strategy: the use of a rich dough. What makes a dough "rich"? It's the generous addition of fats like milk, butter, and often an egg. These ingredients do more than just add flavor; they actively contribute to the desired tenderness and moisture that can sometimes be lost in quicker baking methods. The fats inhibit gluten development slightly, resulting in a softer, more delicate crumb. The milk, particularly whole milk, also adds natural sugars that brown beautifully and contribute to a richer flavor profile, helping to offset any potential "blandness" associated with an accelerated rise. This means you get rolls that are perfectly serviceable for soaking up gravy, but also delightful enough to stand alone as a star on your dinner plate. You might find yourself wondering why you ever made them any other way!Essential Ingredients for Your Quick Dinner Rolls Recipe
Mastering these homemade quick dinner rolls begins with understanding the role of each of the just seven essential ingredients. These aren't just random components; they work in harmony to create that irresistible fluffy, tender, and buttery texture. As we dive into the specific ingredients that make this quick dinner rolls recipe a winner, you'll discover the magic of a rich dough, a technique further explored in our guide: Unlock Pillow-Soft Dinner Rolls: The 7-Ingredient Rich Dough Guide. Here’s what you’ll need and why:- Milk: The liquid base that activates the yeast. For the absolute softest and most flavorful dinner rolls, whole milk is your best friend due to its fat content and natural sugars. While low-fat or non-dairy milks can work, whole milk truly elevates the texture and richness.
- Yeast: The star of our quick-rise show! You can use either active dry yeast or instant yeast. For the fastest possible rise, instant yeast is generally preferred as it doesn't require proofing before mixing with other ingredients. If using active dry yeast, expect rise times to be slightly longer, as it typically needs to bloom in warm liquid first.
- Sugar: More than just for sweetness, sugar is vital for feeding the yeast, boosting its activity, and tenderizing the dough by interfering with gluten formation. It also helps with the beautiful golden-brown crust.
- Egg: Just one egg adds structure, richness, and a lovely golden hue to your rolls. It also contributes to the dough's moisture content, ensuring a tender crumb.
- Butter: This is where a lot of the delicious flavor and unparalleled softness comes from. Ensure your butter is at room temperature for easy incorporation into the dough. It wraps around gluten strands, preventing them from forming too strong a network, thus creating that desirable tender bite.
- Salt: Never underestimate the power of salt in bread baking! It enhances all the flavors, balances the sweetness, and also helps regulate yeast activity, preventing it from working too quickly.
- Flour: The foundation of your rolls. All-purpose flour is convenient and yields fantastic results. For a slightly chewier dinner roll, you can opt for bread flour without needing to adjust the recipe.
Master Your Quick Dinner Rolls: Step-by-Step Guide & Pro Tips
Creating these homemade quick dinner rolls is surprisingly straightforward, even if you’re new to baking. The key is to work efficiently and trust the process. Even if you consider yourself a bread beginner, this method is designed to build your confidence. For more foundational knowledge and tips on mastering bread baking from scratch, check out Easy Homemade Dinner Rolls: Bake Confidently with This Beginner Recipe. Here’s a simplified breakdown of the process with some invaluable tips:- Mix the Dough: Combine your warm milk, yeast, and a pinch of sugar first (especially if using active dry yeast, let it bloom for 5 minutes). Then add the remaining sugar, egg, melted room-temperature butter, salt, and gradually the flour. You can use a stand mixer with a paddle or dough hook attachment, which makes this step a breeze. Alternatively, you can mix by hand, but be prepared for a good arm workout!
- Knead for Development: Whether by mixer or hand, knead the dough until it's smooth and elastic. This typically takes 5-7 minutes in a mixer or 8-10 minutes by hand. The dough should pull away from the sides of the bowl and be tacky but not sticky. Proper kneading is crucial for developing enough gluten to give the rolls structure without making them tough.
- The First (Quick) Rise: Unlike traditional recipes, this dough only needs a very short first rise. Place it in a lightly greased bowl, cover it, and let it rest in a warm place for about 10-15 minutes. This brief rest allows the gluten to relax slightly and the yeast to begin its work.
- Shape the Rolls: Gently punch down the dough to release the air. Turn it out onto a lightly floured surface and divide it into equal portions (usually 12-15 rolls). To shape, flatten each portion, gather the edges towards the center, then flip it over and roll it against the counter with a cupped hand to create a smooth, tight ball. Don't worry if they're not all perfectly uniform – homemade charm is part of the appeal! Arrange them in a greased baking pan, leaving a little space between each.
- The Second Rise: Cover the shaped rolls and let them rise again in a warm spot for another 15-20 minutes, or until they look visibly puffy and have nearly doubled in size. This second rise is crucial for light, airy rolls.
- Bake to Golden Perfection: Preheat your oven to the specified temperature (usually around 375°F or 190°C). Bake for 12-18 minutes, or until the tops are beautifully golden brown and the internal temperature reaches 200-205°F (93-96°C).
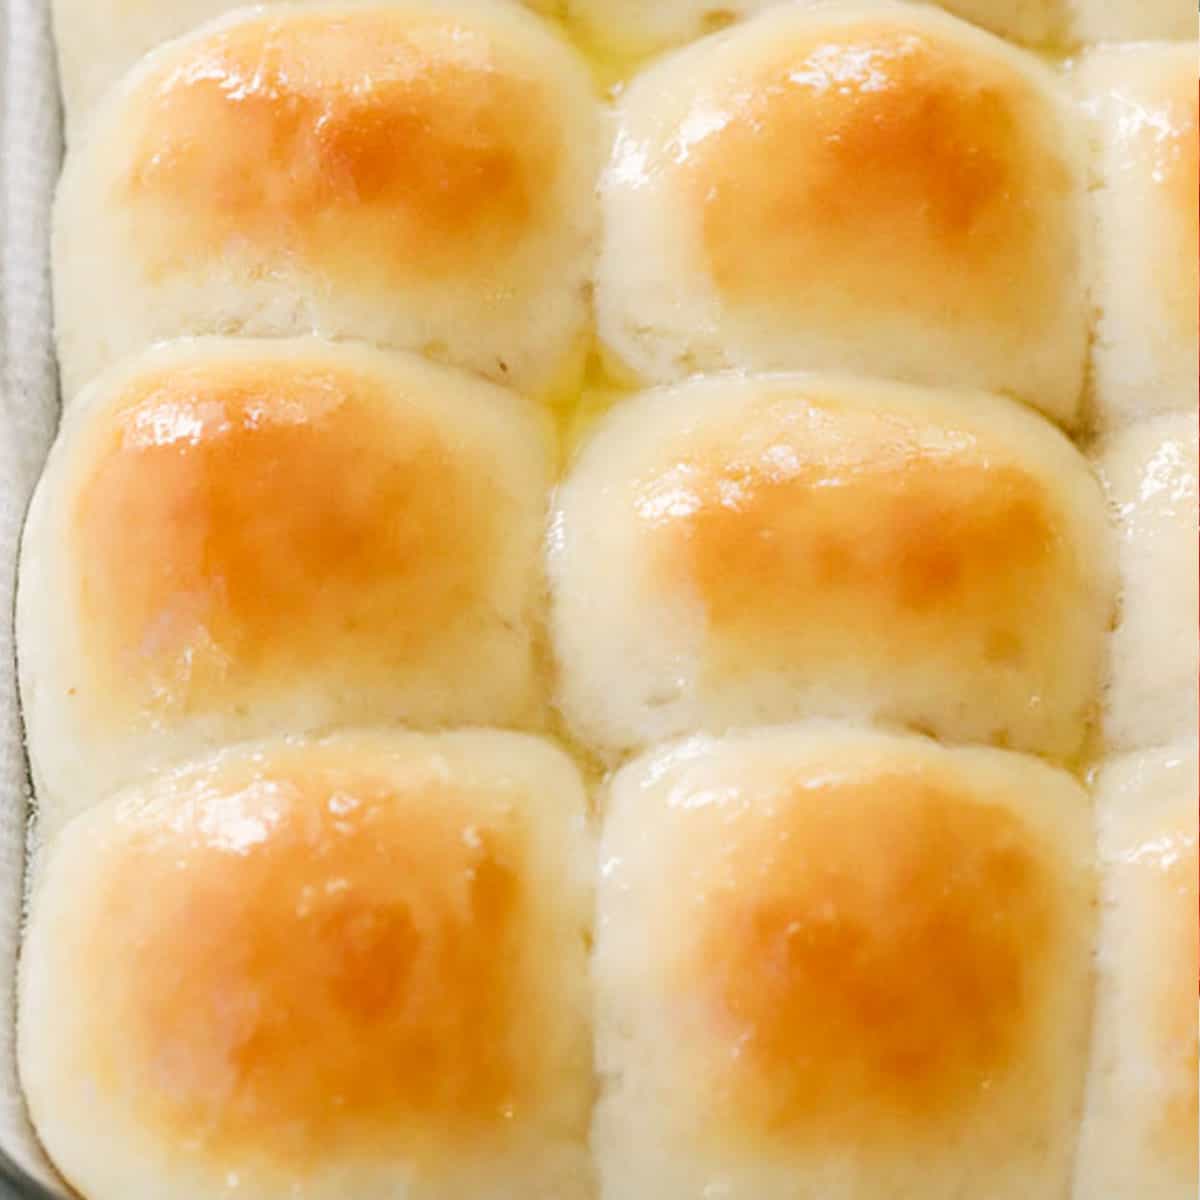
- Finish with Butter: As soon as the rolls come out of the oven, brush them generously with melted butter. This adds an extra layer of flavor, keeps them soft, and gives them a beautiful sheen.
Pro Tip for Beginners: If your kitchen is cool, you can create a warm spot for rising by preheating your oven to its lowest setting for a few minutes, then turning it off and placing the covered dough inside (with the oven door slightly ajar). Just ensure it's not too hot, as extreme heat can kill the yeast.
Beyond the Basic: Variations & Serving Suggestions
Once you've mastered the basic quick dinner rolls recipe, the possibilities for customization are endless.- Garlic Herb Rolls: Mix finely minced garlic and fresh herbs (rosemary, thyme, parsley) into the dough, or brush the finished rolls with garlic-herb melted butter.
- Cheesy Rolls: Fold in shredded cheddar or Parmesan cheese during the last stage of kneading.
- Sweet Cinnamon Swirls: Lightly flatten the shaped dough balls, spread with softened butter, cinnamon, and sugar, then reshape into rolls.
